REPLACE A TOILET CISTERN – STEP BY STEP
The toilet cistern is designed to send water from the cistern to the toilet bowl with every flush thus cleaning the toilet bowl. It is time to replace your old toilet cistern with a beautifully designed flushing cistern from GROHE, such as the GROHE Bau Ceramic Exposed Flushing Cistern. Then you are right where you need to be. If you want to do it yourself, our step-by-step guide will help you through the process. Soon you will be beaming with pride after having changed out your old toilet cistern and replaced it with an award-winning GROHE designed toilet cistern.

GETTING STARTED – CHANGING A TOILET CISTERN
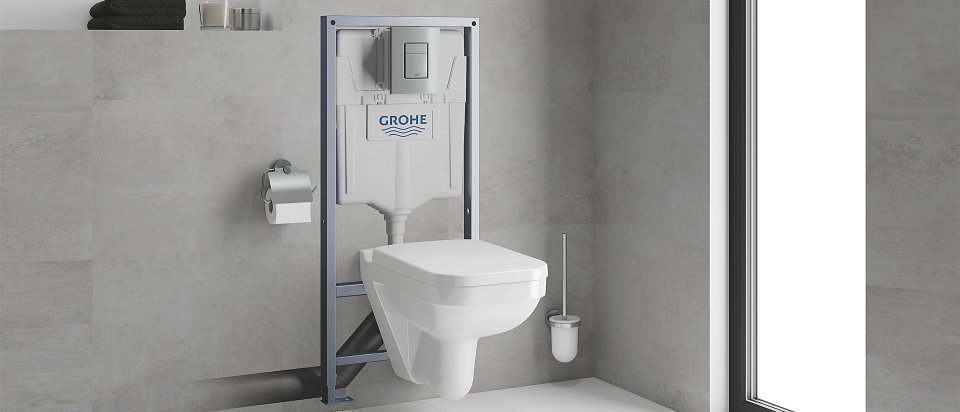
Replacing an exposed toilet cistern will require a few different stages compared to changing a concealed cistern. In this article we are focusing on changing an exposed toilet cistern type, however, GROHE has many easy-to-install concealed cistern types such as the GROHE WC Concealed Cistern. We would recommend you read our article on how to install a wall-hung toilet system for more information.
Preparation is key, ensure that you have all the tools you may need to hand as you don’t want to find yourself missing a certain tool in the middle of the job. We would recommend you have these tools and items ready to go:
- Bucket
- Sponge
- Towel
- Plumber’s tape
- Pliers
- Wrench
- Screwdriver
HOW TO CHANGE A TOILET CISTERN
Changing the toilet cistern is done in two stages: removing the old cistern and attaching the new beautifully designed cistern from GROHE.
- To ensure that there is no water leakage, the first step is to turn off the stop tap which is normally located on the side of the toilet. It’s wise to also turn off the water supply at the mains to make sure the bathroom won’t flood with water whilst changing the cistern.
- Now flush the toilet until the cistern is fully drained of water. At this stage, you can use the sponge and bucket to get rid of the remaining water.
- Using the adjustable wrench, undo the inlet pipe which is located at the bottom of the cistern. Loosen any other nuts and bolts so you can carefully remove the old cistern from the back of the toilet.
- To lift off the old cistern, it’s advisable to have another person on standby to help you out, as ceramic cisterns can be quite heavy.
- Check the instruction manual before you start installing the new cistern.
- Situate the new cistern at the back of the toilet and proceed to attach all the nuts and bolts to the underside of the unit. It’s similar to removing the cistern – in reverse. Use the plumber’s tape on the inlet before the hose is reattached to the cistern. This will help make it watertight. Ensure that every part is properly aligned and pay special attention to the cone gasket at the bottom of the toilet which must attach to the hole at the back of the toilet bowl unit.
- After you have tightened all the nuts and bolts sufficiently, the final stage is to turn the water back on. Before you do this, have a towel at the ready, just in case of leakage. Turn the water back on at the mains and then at the stop tap on the side of the toilet.
- If there are no leaks, then you have successfully changed a toilet cistern.