Preparation
1 - If major work is done on the home, the water network must be flushed of all impurities to avoid damaging your mixer.
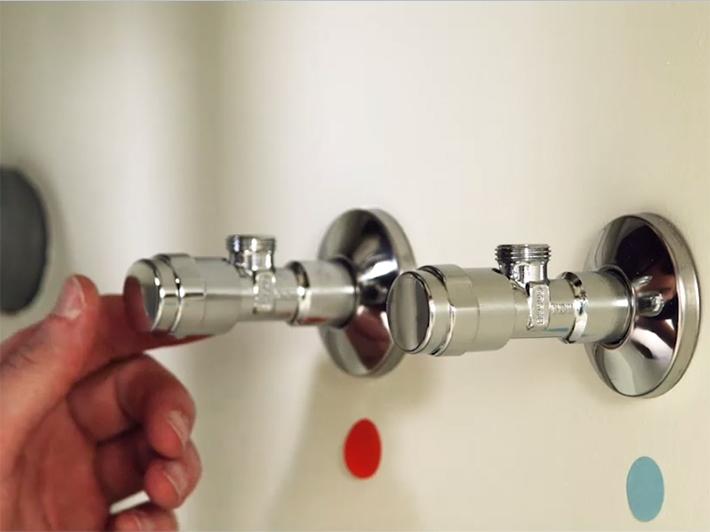
2 - Before dismantling your old unit identify the hot and cold water feeds, then shut off the water supplies.
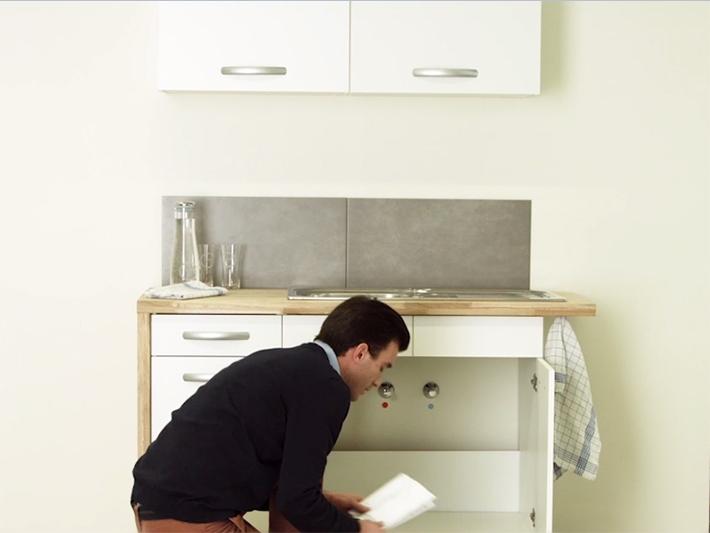
3 - Prepare parts and tools with close access to the connections.
Installing the upper part of the mixer
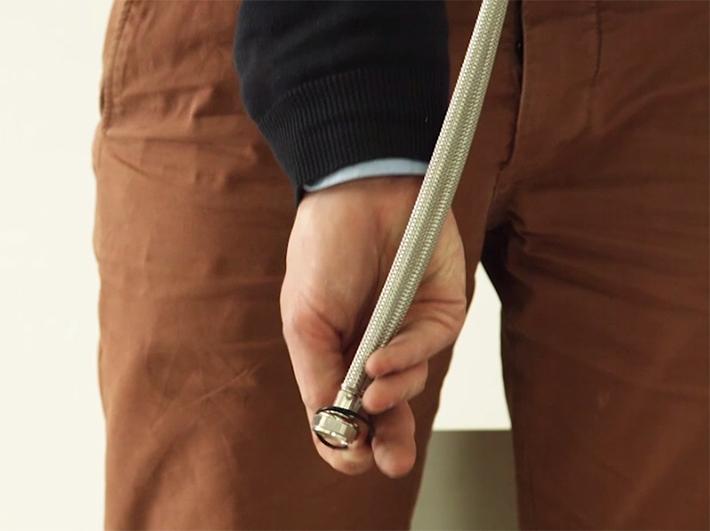
1 - Pick up the mixer and water-tight seal. Place the water-tight seal over the two hoses.
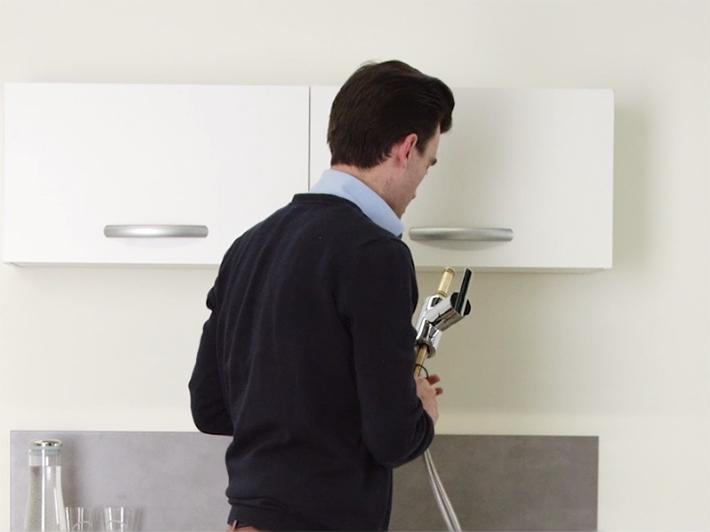
2 - Position the water-tight so that it sits securely on the base of the tap and hold it there.
3 - Insert the hoses through the hole in the sink for the mixer.

4 - Place the mixer so that the water-tight seal is in contact with the sink, . Hold the mixer in this position.

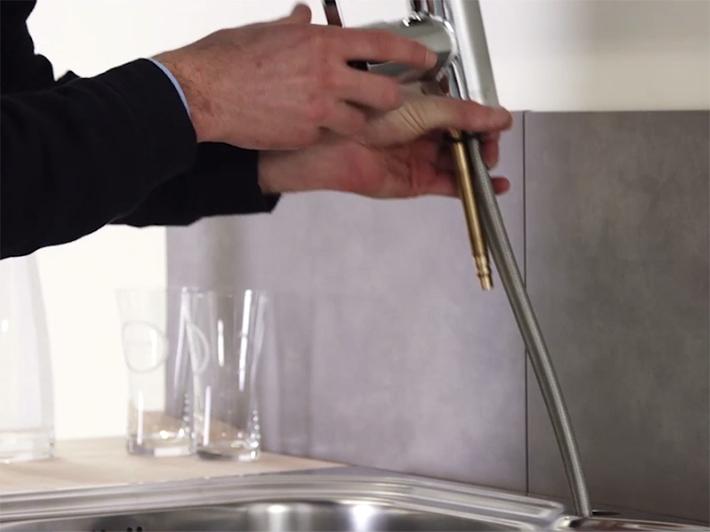
5 - Insert the flex hose into the upper part of the high spout.
6 - Then fit the entire spout on to the mixer body.
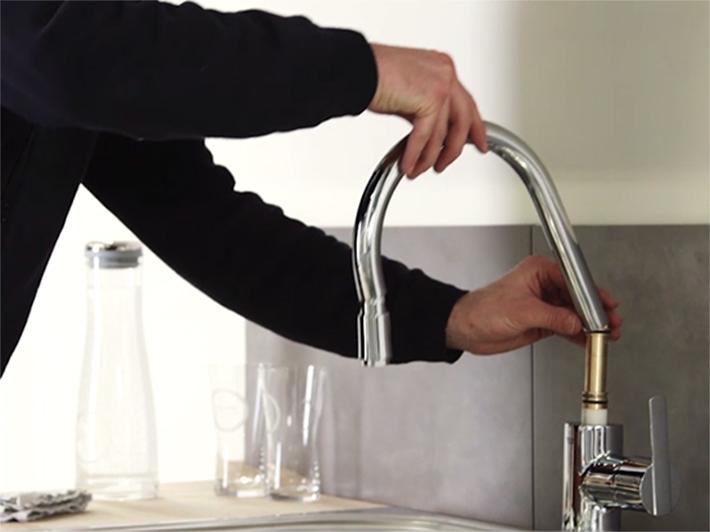
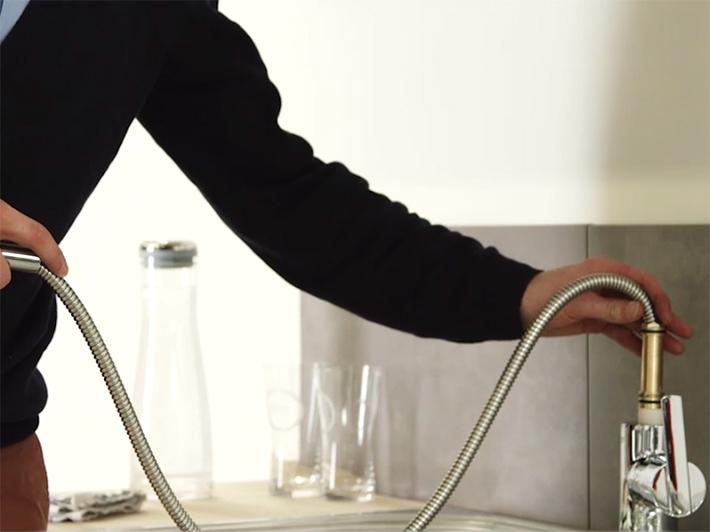
7 - Use the hoses to hold the mixer firmly until it is attached.
Installing the lower part of the mixer

1 - Place the stabilization ring over the hoses, and then along the threaded rod. Similarly, place the tightening seal and then, lastly, place the tightening nut. Hand-tighten the nut to the maximum.

2 - Release the mixer, which is now held in place, and visually check the mixer's orientation. Adjust it if necessary.
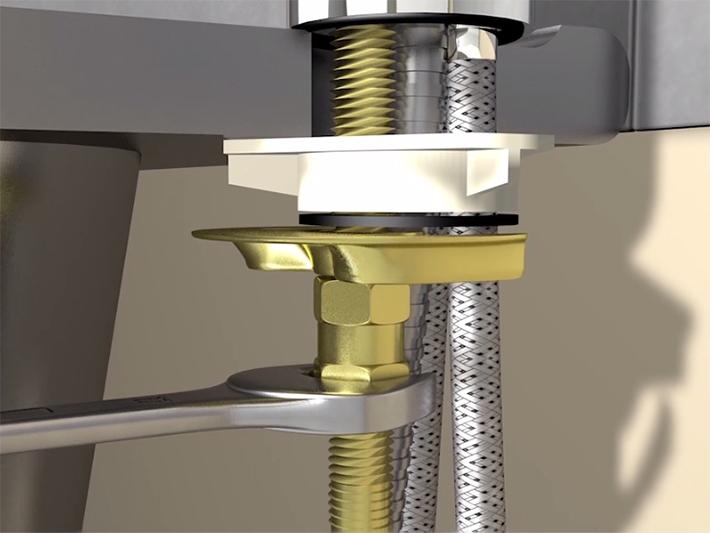
3 - Hold the mixer and use a 17 mm open-end wrench to tighten the nut without forcing.
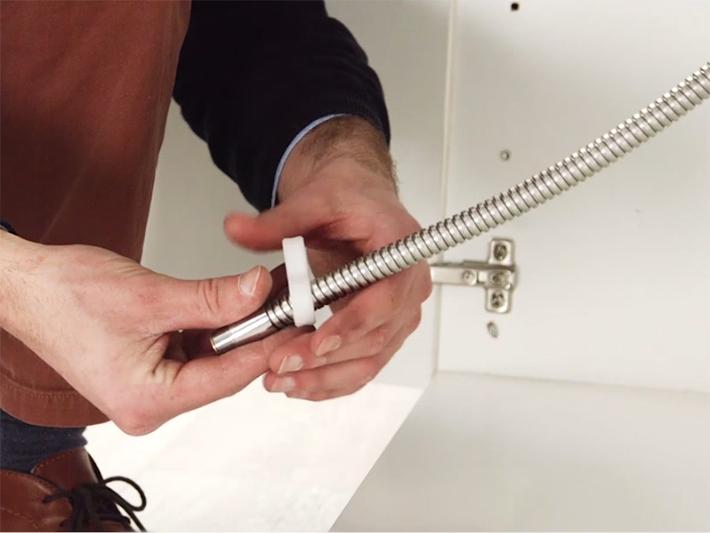
4 - Under the sink, place one side of the figure-8 shaped ring over the spray hose.
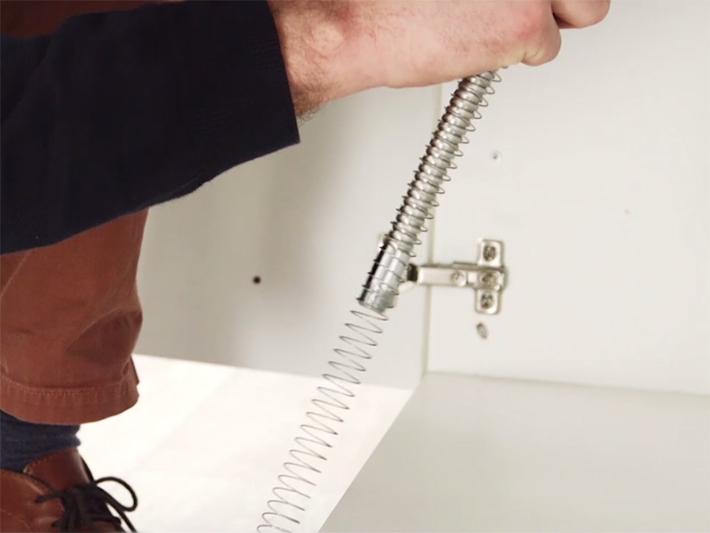
5 - Slide the spring onto the spray hose making sure that the black plastic ends are still in place of the spring
6 - Slide the end of the spray hose through the second figure-8 shaped ring.
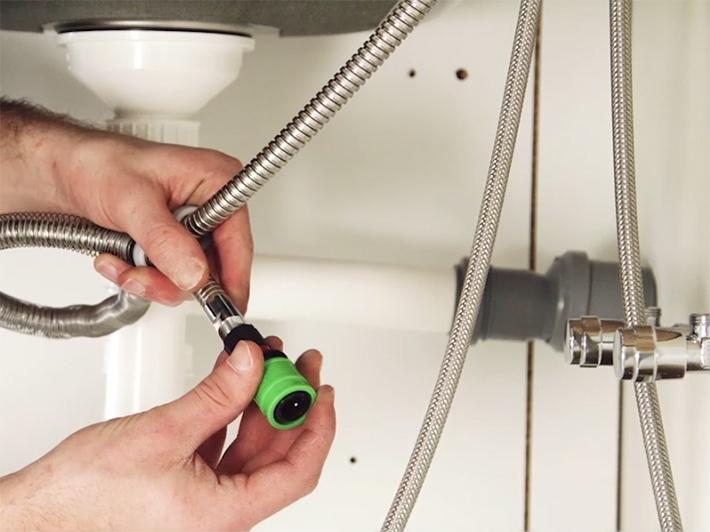
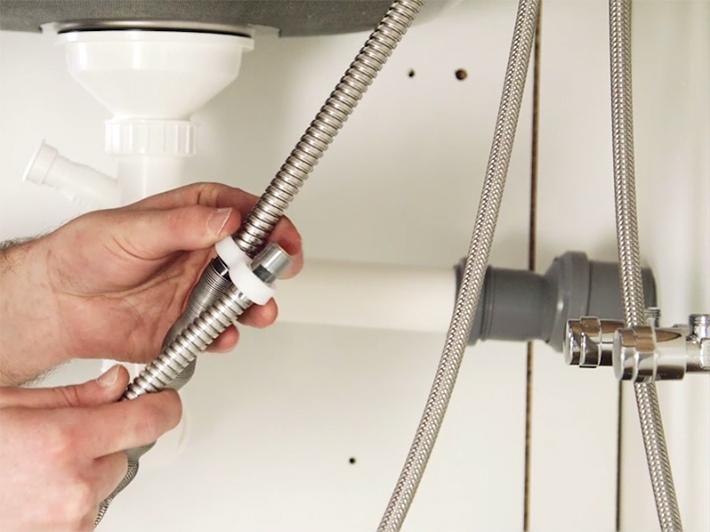
7 - Hold the spring and the ring, then screw the hose into the end of the push fit connector.
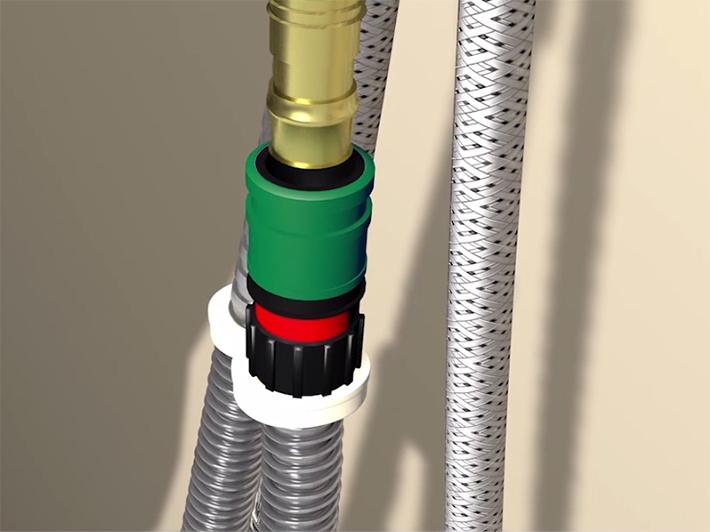
8 - Slide the push fit connector and lock it into place on the brass rod. Verify that the push connector is correctly fitted by pulling on it.
Turning on water
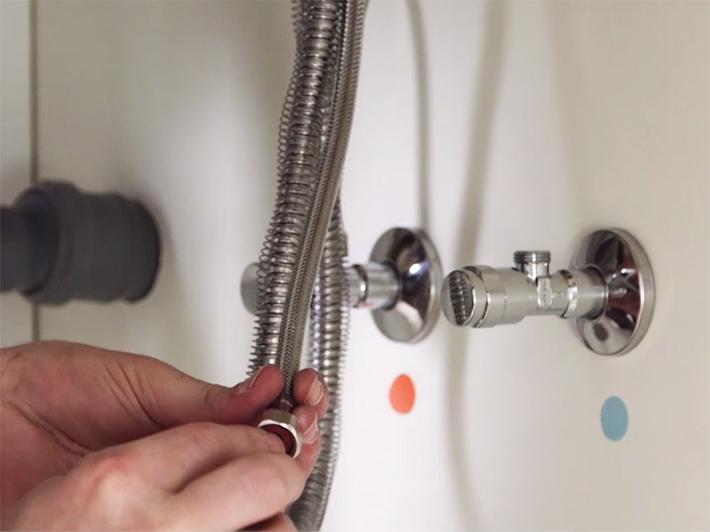
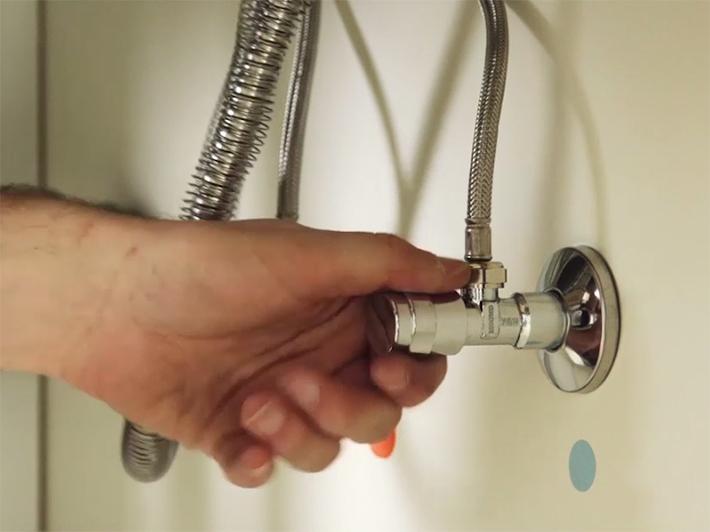
1 - Make sure that the seal is present in the hoses. If necessary, add a fiber or rubber seal. Screw the left-hand hose onto the hot water faucet, and the right-hand hose on the cold water faucet. Tighten with a 19 mm open-end wrench. Make sure there are no kinks or bends in the hoses.
2 - Make sure that movement of the flex hose for the pull-out spout is not obstructed by any obstacles. Open the two water lines and make sure the faucets do not leak.
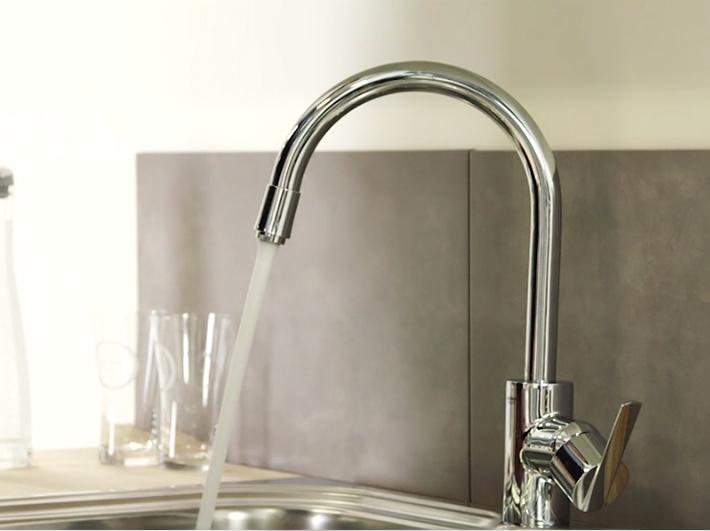
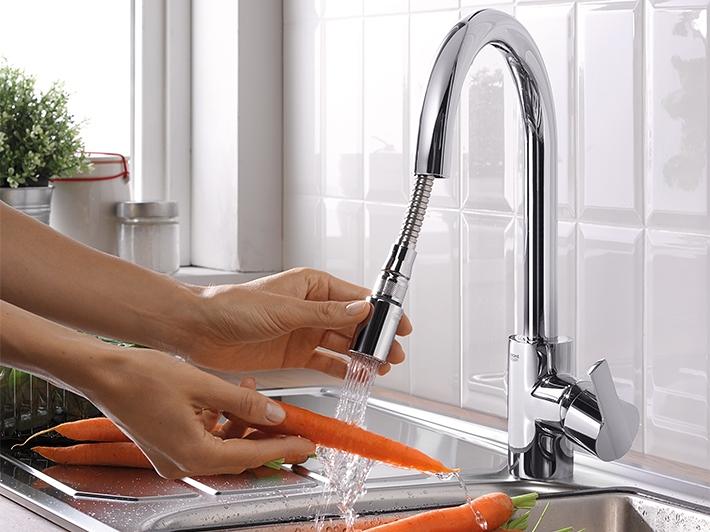
3 - Make sure the mixer is operating properly.

Congratulations, you have finished installing your new GROHE product.
Check our other installation guides and discover all of our products on grohe.com/uk.